How to Visually Edit HTML Tables, Merge Cells, and Reorder Columns
Step-by-step tutorial: select and edit cells in Table Mode, merge ranges with auto-calculated spans (Alt+Shift+W), reorder columns via the Drag-Drop switch, apply CSS utility classes, and export clean HTML.
TLDR
In Table Formatter's Table Mode, click and drag across adjacent cells and click Merge Cells in the left panel (or press Alt+Shift+W) to combine them with automatically computed colspan and rowspan attributes. Toggle the DRAG-DROP switch in the center header to drag column or row handles to new positions, apply built-in CSS classes (freeze-pane, highlighted) under Styles And ID, and click Generate in the right panel to export clean HTML markup.
Before you start
You need an HTML or CSV table to format (or you can create a blank table using the Add Table button in the header) and a web browser.
Everything renders and updates locally in client memory with zero server latency.
Step 1 — Open Table Mode and load your table
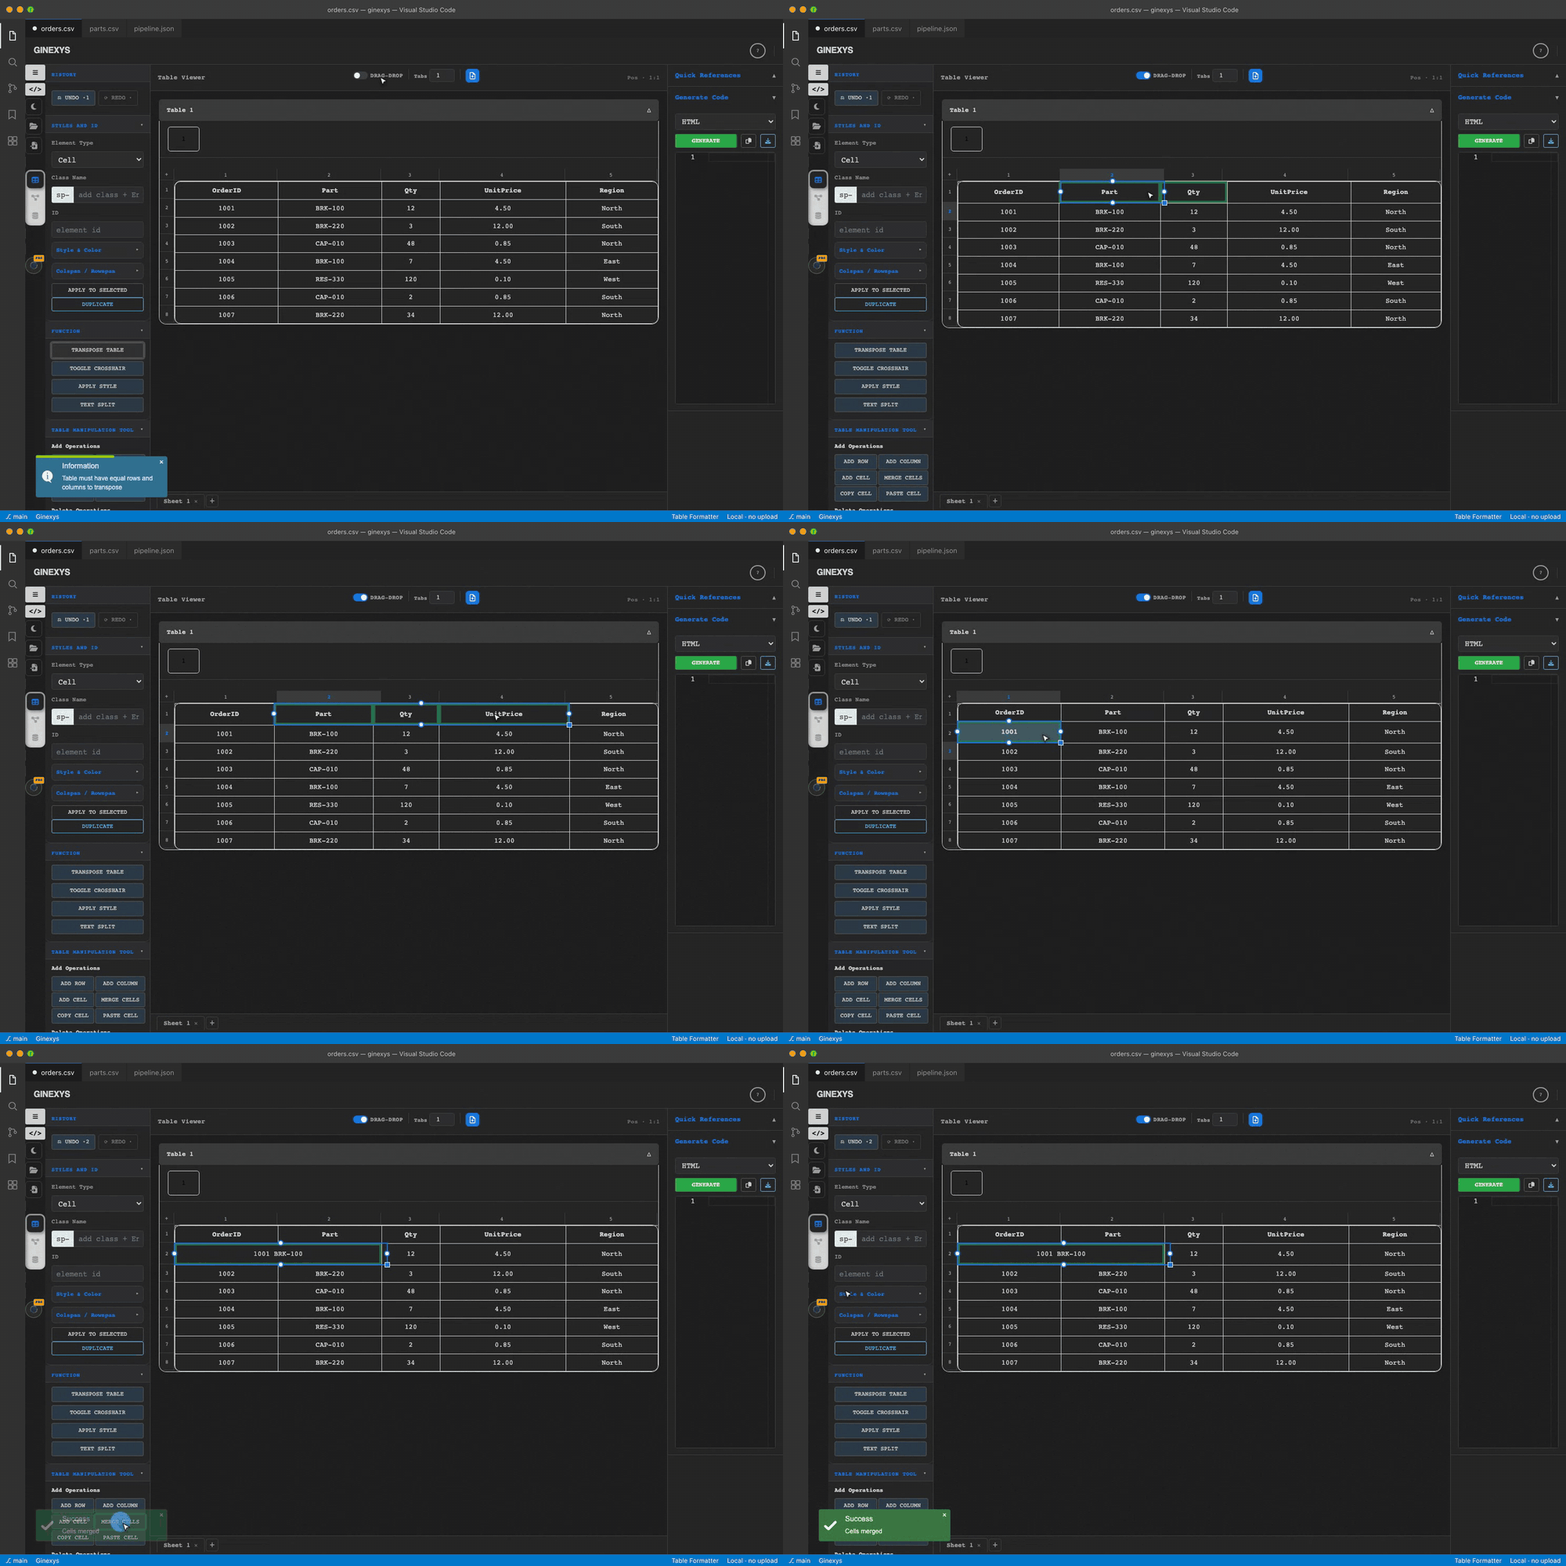
Navigate to Table Formatter and ensure the Table Mode icon (#selectToolToggle with the table icon) is active in the left icon rail.
- Click the Folder Icon (
#loadFileBtn) to load a.csv,.html, or.mdfile into a new sheet. - Or click the Add Table icon (
.newTableBtn) in the top center bar to draw a fresh grid with your desired row and column count.
Step 2 — Select and merge cells (colspan & rowspan)
To create a merged header banner or grouped category:
- Click and drag across a rectangular block of cells (or click the start cell and
Shift+Clickthe end cell). - The selection highlights with a blue border.
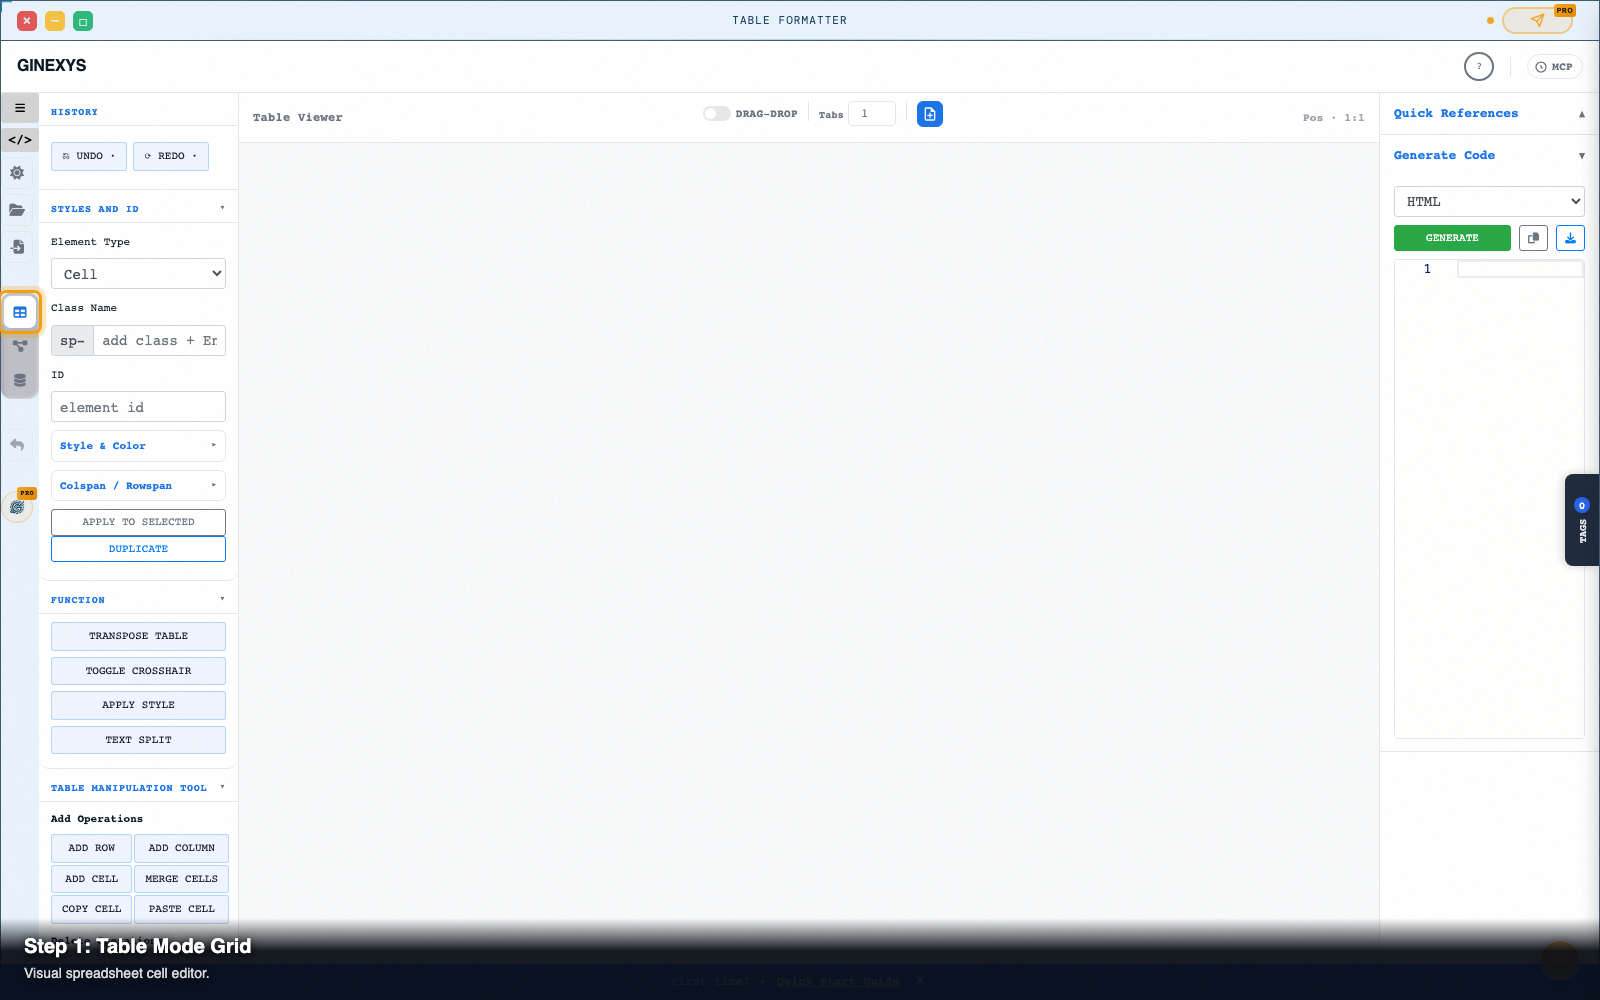
- In the left panel under Table Manipulation Tool, click Merge Cells (
#mergeCells) or pressAlt+Shift+W. - The cells merge into a single unified cell, automatically calculating the exact
colspanandrowspanattributes while preserving your text.
colspan or rowspan, enter your value in #attributeValue, and click Apply to Selected (#applyClassId).
Step 3 — Reorder columns and rows with the Drag-Drop toggle
When you need to rearrange table columns or rows:
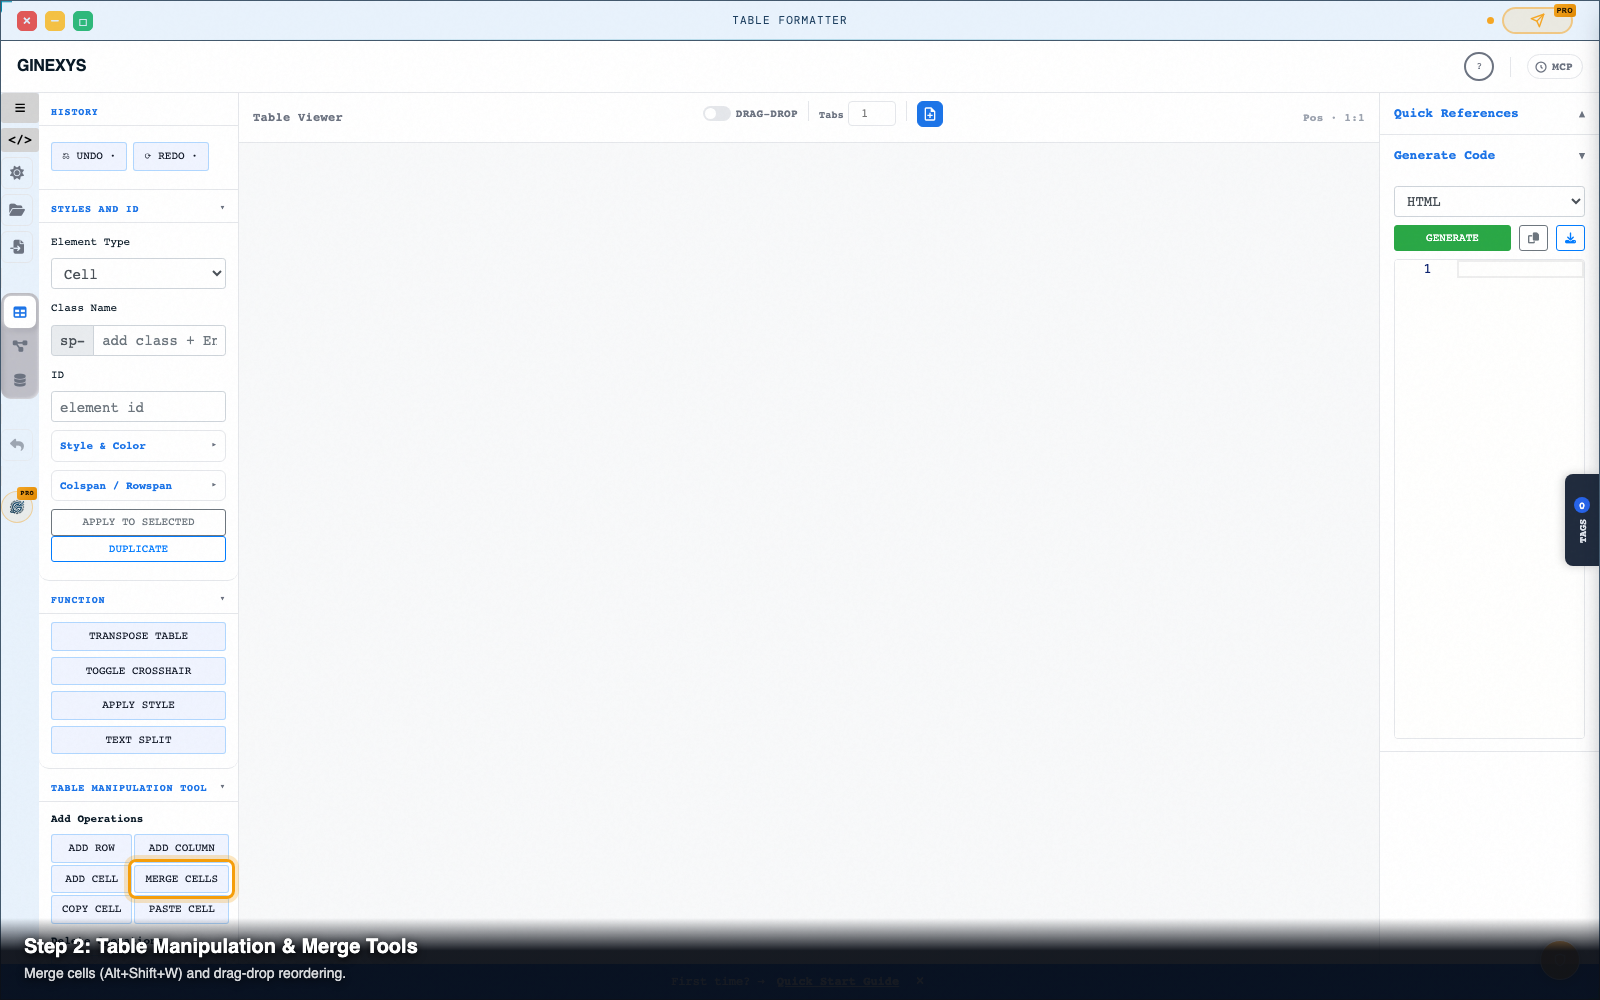
- Toggle on the DRAG-DROP switch (
#dragDropSwitch) in the center header bar (or click Toggle Drag & Drop in the left panel). - Dotted drag handles appear over row and column headers.
- Click and hold any column handle and drag it left or right to reorder the entire column across all rows in the sheet.
- Toggle the DRAG-DROP switch off when you return to cell text editing.
Step 4 — Apply built-in CSS utility classes and styles
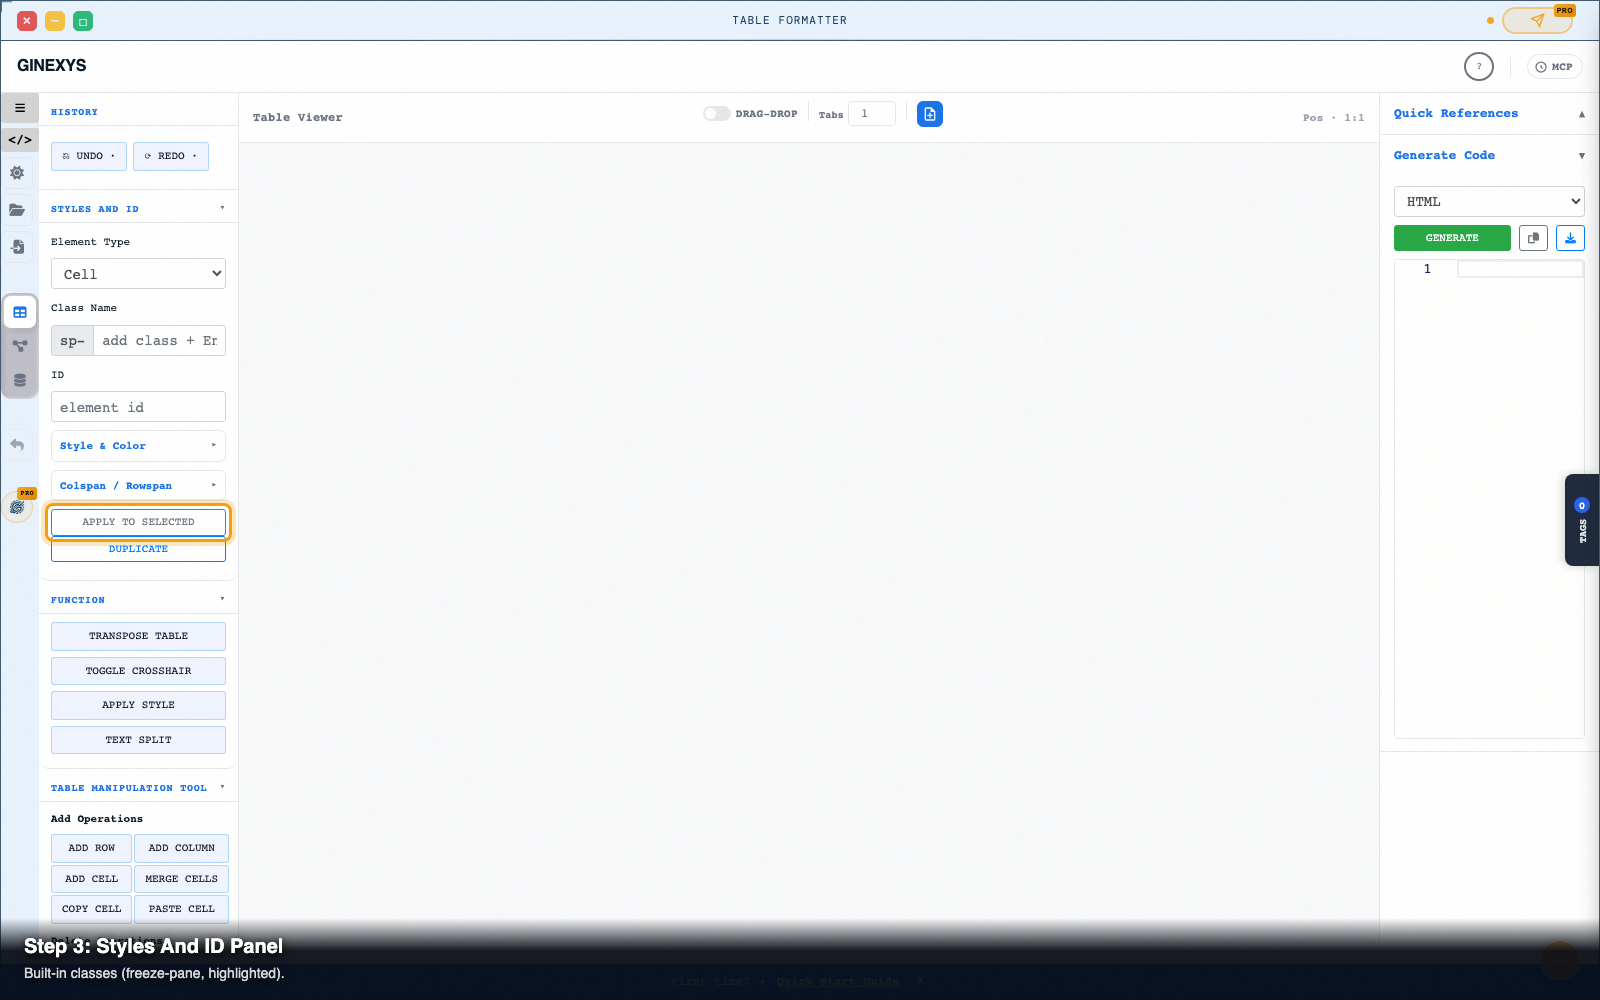
Select any cell, row, or column, then open the Styles And ID panel on the left:
- Element Type: Choose whether to apply styling to the active
Cell,Row, orColumn. - Class Name: Type built-in utility classes into
#classInput(such asfreeze-paneto pin sticky headers,highlightedfor accent callouts,accordion-headerfor collapsible rows, orsp-$indexfor column toggles). - Style & Color: Pick custom background colors (
#cellColor), text colors, padding, and border styles. - Click Apply to Selected (
#applyClassId) to commit the classes to the cell store.
Step 5 — Add, duplicate, or delete cells and rows
Use the Table Manipulation Tool buttons in the left panel to refine your grid:
- Add Operations: Click Add Row (
#addRow), Add Column (#addColumn), or Add Cell (#addCell). - Duplicate: Click Duplicate (
#duplicateElement) to clone the active row or column. - Delete Operations: Click Delete Cell(s) (
#deleteCellorDeletekey), Delete Row(s) (#deleteRow), or Delete Col(s) (#deleteColumn).
Step 6 — Generate and export clean HTML
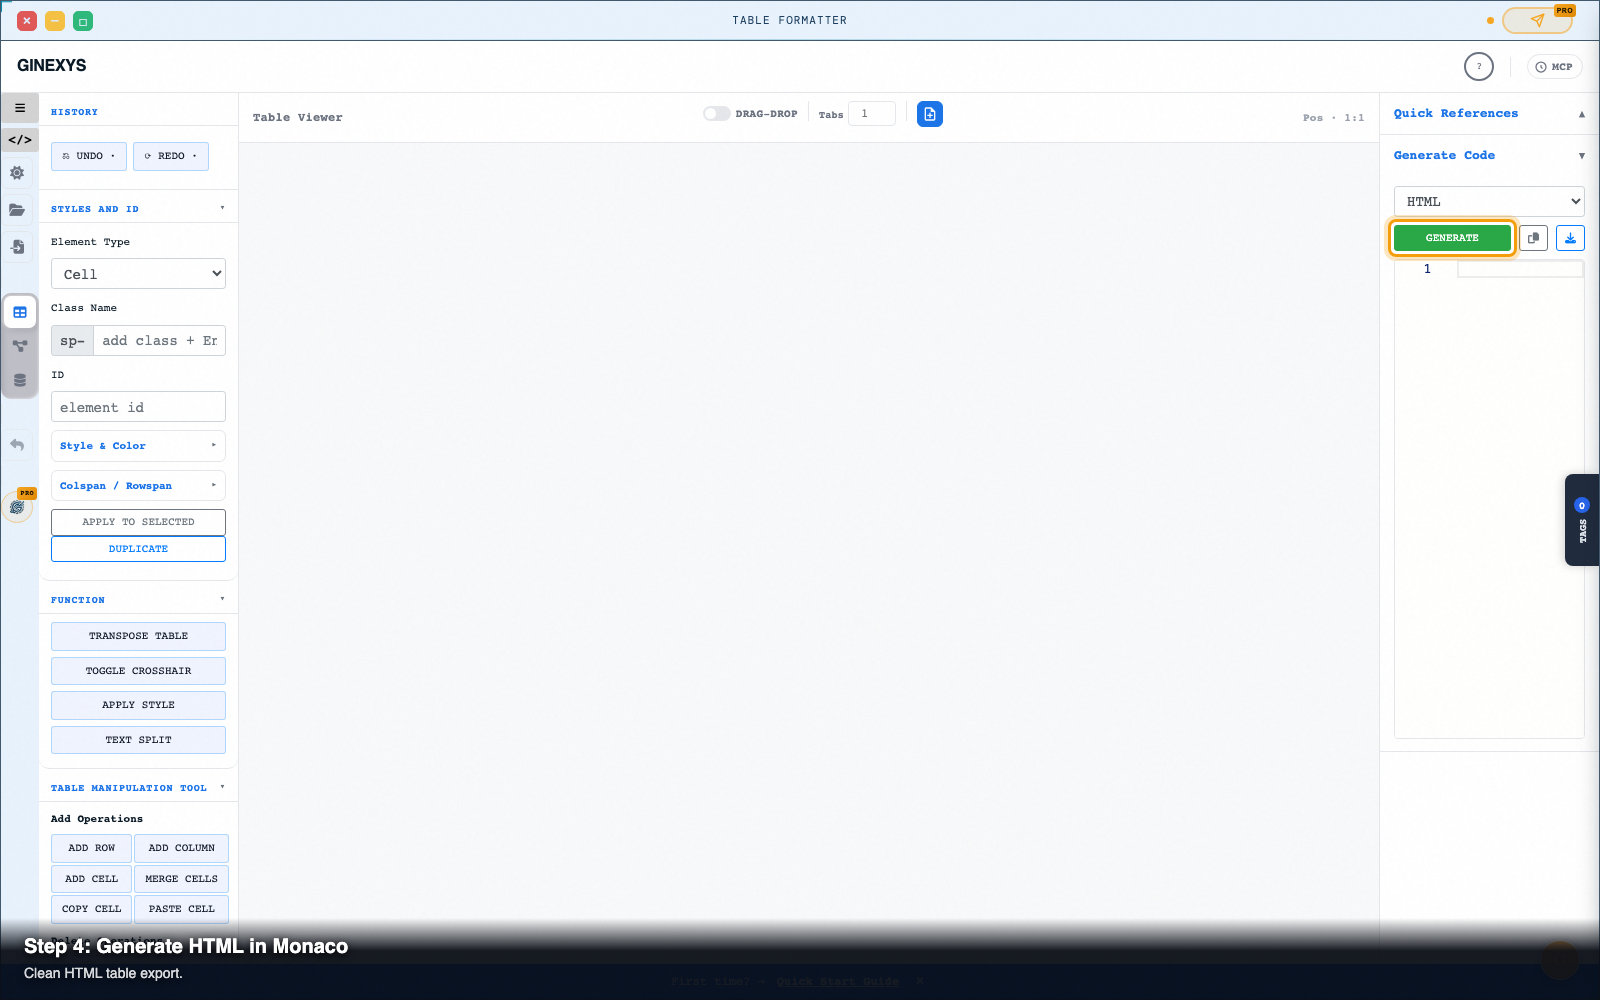
In the right-hand Generate Code panel:
- Select HTML from the
#exportFormatdropdown. - Click the green Generate button (
#generateCode). - The embedded Monaco editor displays clean, semantic
<table><thead><tbody>markup with all merged spans and applied classes. - Click Copy (
#copyInput) or Download (#downloadCode) to export your file.
Pro tip: undo and history manager
Made an accidental cell deletion or merge?
Click Undo (.undoHistory in the left panel or press Ctrl+Z / Cmd+Z) and Redo (.redoHistory or Ctrl+Y / Cmd+Shift+Z) to step backward and forward through your complete editing history.
Next steps
Table Formatter — Clean, reshape, and convert tabular data between HTML, CSV, TSV, SQL, and Markdown.